

Isn't this clipboard adorable?! It's a craft wood basic that we carry for just $2.00 and comes in three styles: ladybug, dinosaur and flip-flops.


Start by running a length of paper tape along the edges of
your surface leaving generous "tails" off the ends.

Taking a ruler or other straight-edge, line up the corners
where the two lengths of tape intersect. Use a craft knife to lightly
cut through the tape. Be careful not to damage your surface!
Carefully peel the excess tape from the strip that is on the top.

Lookin' good!

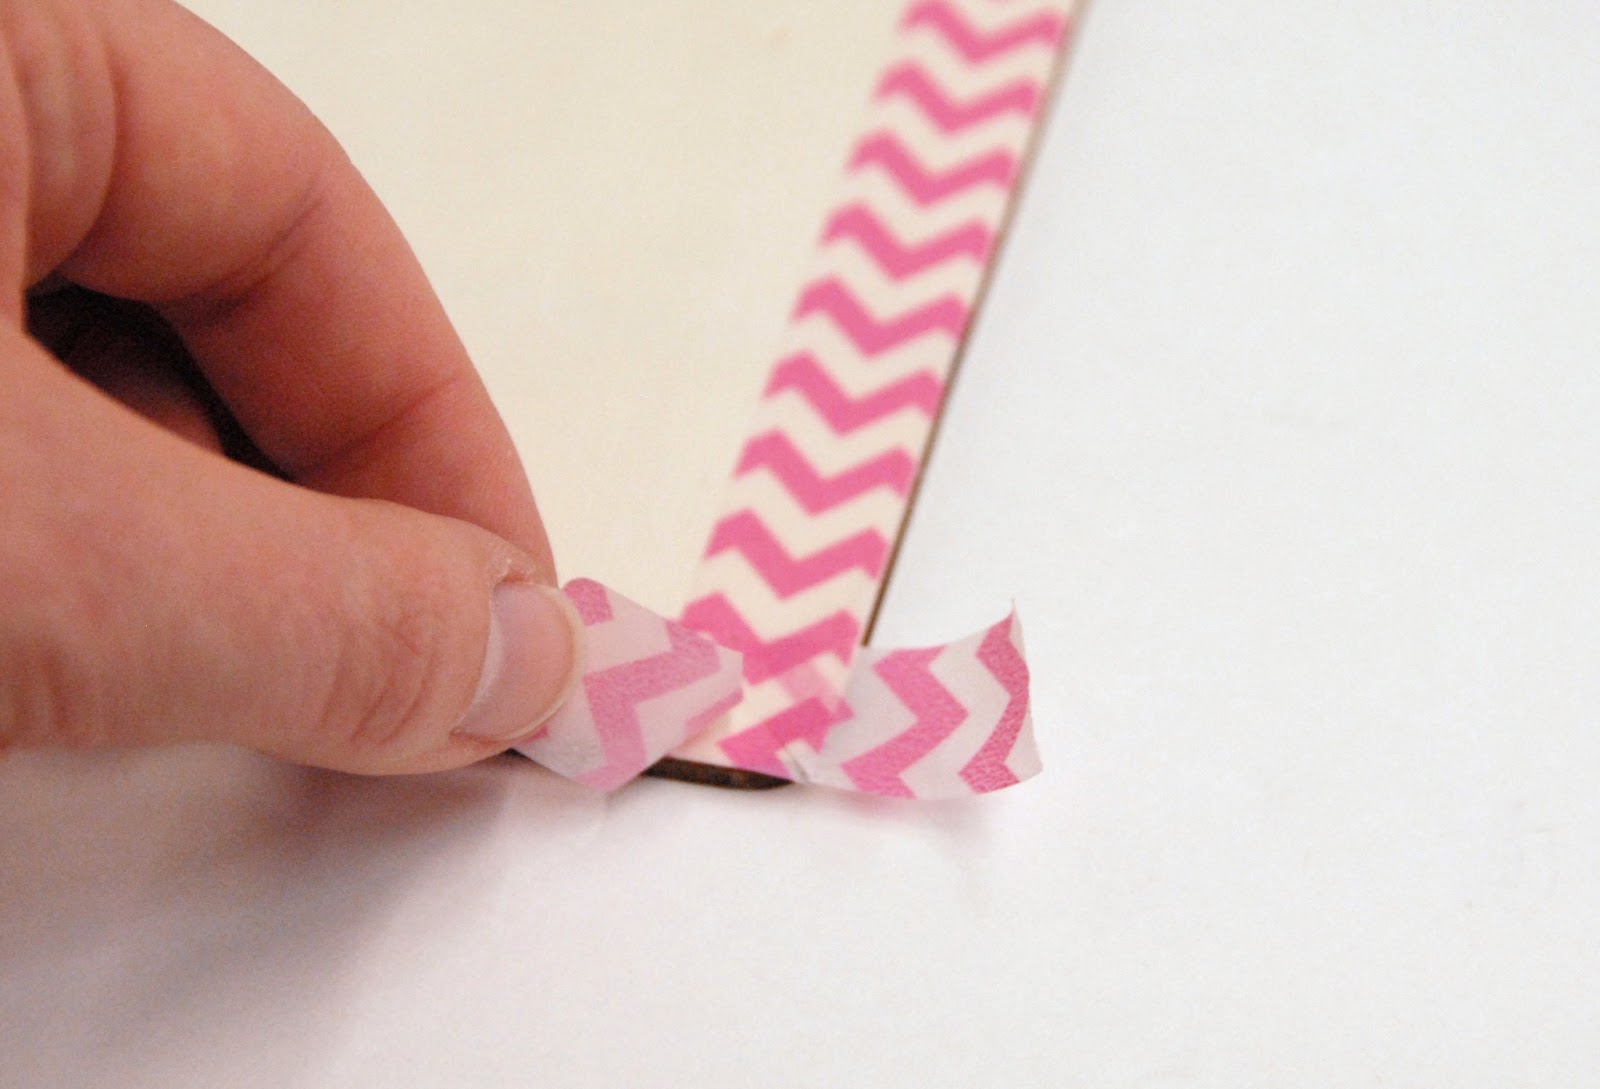
The other strip is hiding under the top layer.
Gently pull up the overlapping corner...

and peel off the excess tape from the bottom strip.

Press the nicely cut strip back into place.

Our clipboard has rounded corners, so we decided to trim the
pointed ends with a craft knife to make them fit the shape.

Repeat these steps for the remaining corners and you're done!

We LOVE the paper tapes from LittleB. They have super skinny tapes 1/8" and jumbo ones 1" in tons of patterns. You can check out all of LittleB's paper tapes, sticky notes, sticky tabs and embellishments at our Monroe Ben Franklin store!
 |
| More paper tape creations from LittleB! |
Thanks for introducing me to paper tapes and "how to make a perfect mitered corner".
ReplyDeleteYou're welcome! We were pretty excited when Carol showed us the same technique. All of us started thinking of the possibilities!
Delete