Here is the basic tutorial for a four-layer shadowbox. You can select any paper you like for this project. If you are new to paper cutting with small scissors and craft knives, pick a paper with simpler shapes and less detail. The paper we chose is from S.E.I.'s Silver Valley collection - isn't it lovely?
Supplies
- Vinyl Saying: Snow Flakes are the flowers in Winter’s Garden
- 12 In. x 12 In. Shadow Box Frame in White
- 4 — 12 in. x 12 in. Sheets Matching Scrapbook Paper
- Dimensional foam squares or “pop-up” dots
- Scissors, Needle-nosed or fine-tip
- Craft Knife
- Cutting Mat
The dimensional look of this craft is achieved by layering cut-outs from several sheets of the same decorative paper—foam craft squares are placed between layers to add depth.
- Start by disassembling the shadowbox and cleaning the glass.
- Take the four matching sheets of paper and decide which elements will be in the foreground and background.
- Trim the bottommost sheet to an exact 12”x12”. Cut the remaining sheets to 11 1/2” x 11 1/2” evenly, by trimming 1/4” from each side. (this will ensure they will fit inside the frame).
- Working with the second layer, decide which elements to keep and trim away the rest carefully with scissors and/or a craft knife. Repeat for the two remaining layers.
- Working from the background to the foreground, build your layers with foam squares (or pop-up dots). When complete, place it into the frame and reassemble the shadowbox.
- Add your vinyl saying to the outside of the glass.
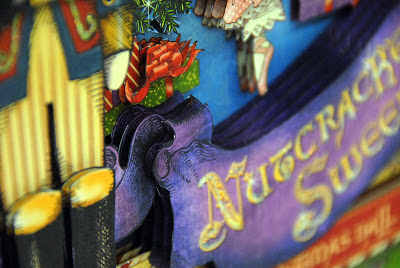
The same technique was used when Bonnie created this Nutcracker Wall Canvas:
Looking for more craft tutorials?
We have 100's of free projects on our website!


No comments:
Post a Comment